
Essentially, contouring is using makeup to manipulate the natural structure of the face, shading areas to make them more defined and highlighting other areas to bring them out more. This is very useful in photography, as it means certain areas will catch the light and others will appear to have more of a shadow, therefore altering the face shape.
 |
| Kat's demo |
In her demo Kat used a white base (Illamasqua Skin Base Foundation in Shade 01) as she was contouring with dark colours and a pale base would accentuate the contoured features even further. She focused on the cheekbone, nose and eye areas to create a more sculpted appearance to the models face. I think this look was really successful and work really well as an editorial piece.
 |
| My work |
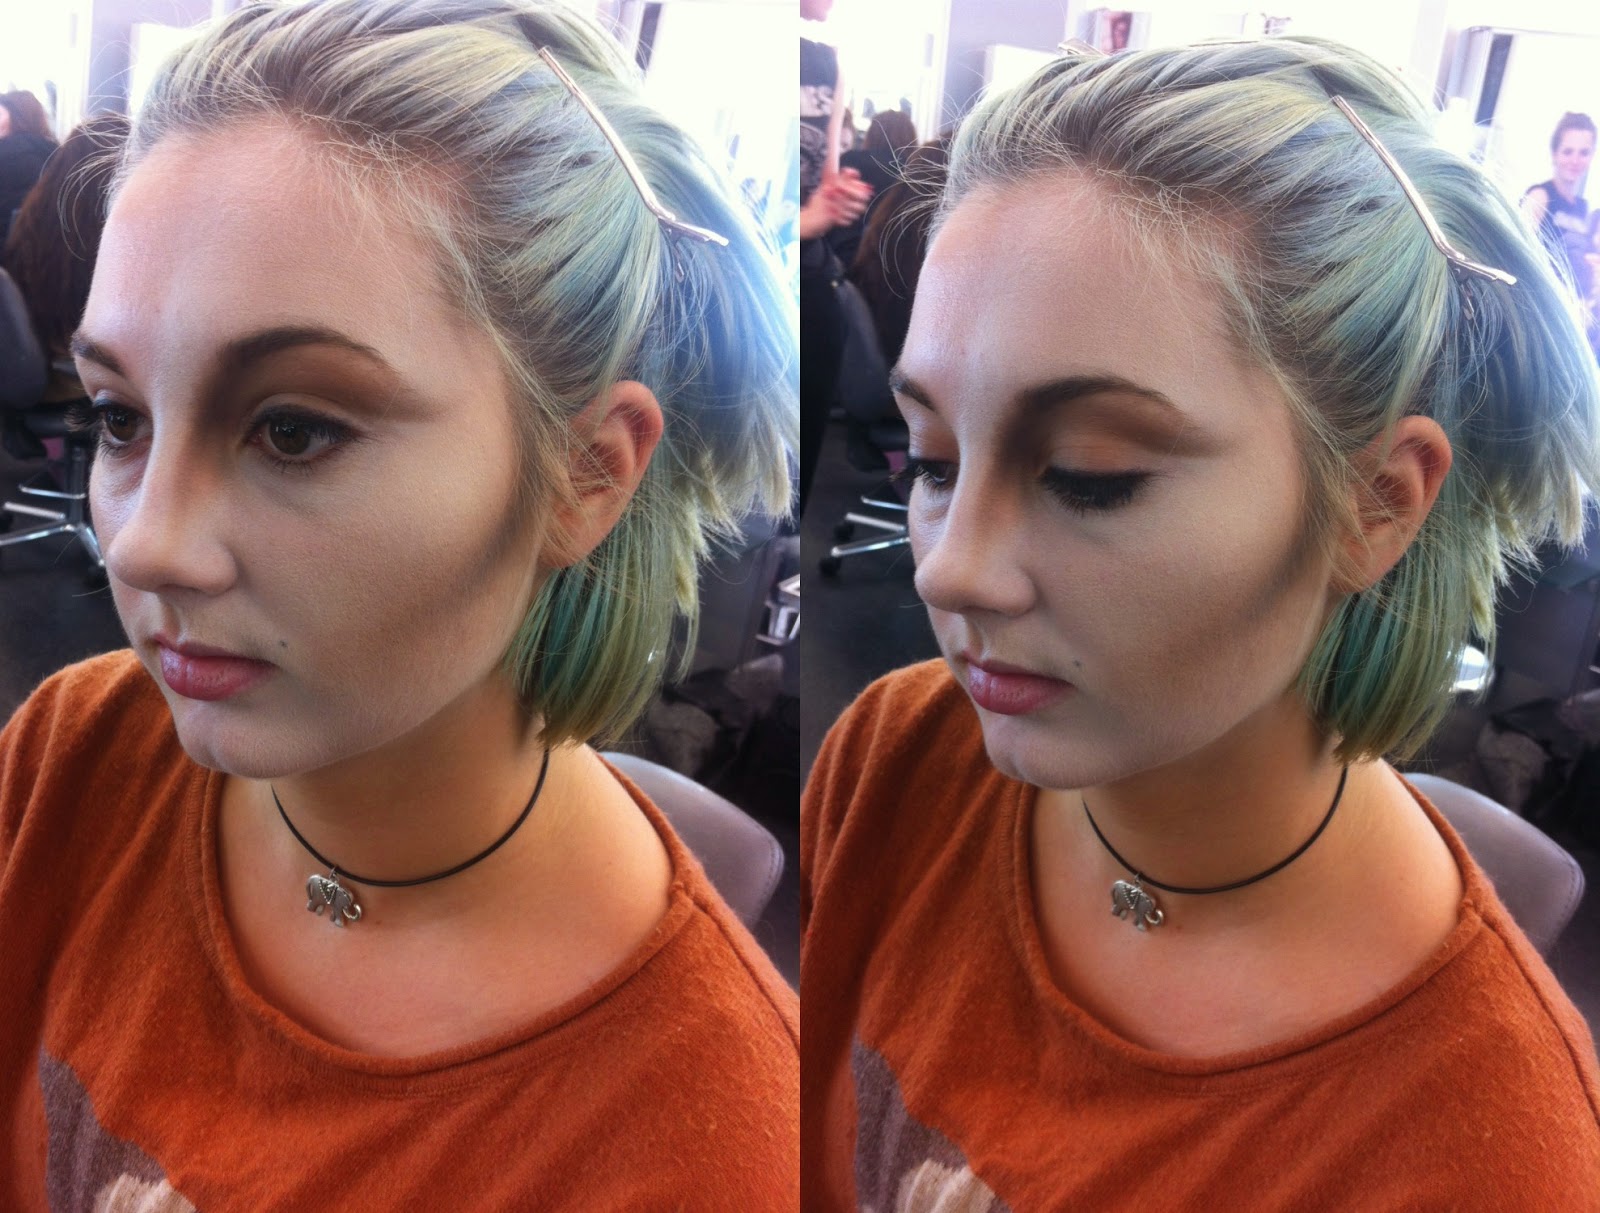
In her demo Kat used powder products to contour. I also decided to use powders, as I prefer working with powder prdoucts over creams - I find they blend better whilst retaining pigmentation. For the base I used Illamasqua Matte Primer, then a mixture of Illamasqua Skin Base in shade 01 and MAC Full Coverage Foundation in shade W10, and I set the base with Illamasqua Translucent Loose Powder. I would have like to have spent more time on the skin but our time was quite limited.
.JPG)
I began by contouring the cheek, following just under Amelia's natural cheekbone. I started with my lightest colour, Kryolan Glamour Glow in Glamour Tan, which I used to mark out the cheekbone. I also used the same product to mark out my contour on the nose and eye socket. I then worked into this with a slightly darker shade; Illamasqua Sculpting Powder in Heliopolis, blending out the Kryolan Glamour Glow as I worked. I used Heliopolis to work into the areas that I had already marked out with Glamour Tan, as I intended to work from the lightest colour to the darkest.
I then began to blend in the darker colours to make the contour more dramatic. I used Illamasqua Eyeshadow in Wolf in the inner corners of each contoured area, so the crease of the eye, from the inner browbone down the nose, and on the upper half of the cheekbone. Once I'd blended Wolf in, the contour was significantly darker, but I wanted to make it more extreme, so I decided to use Illamasqua Eyeshadow in Obsidian to give it a darker appearance and a more dramatic shadow. Because Obsidian is so dark and highly pigmented I only used a tiny amount, working into the areas where I had already used Wolf. I only used Obsidian on the upper third of the cheekbone, making sure I blended it into the hairline.

To highlight I used Illamasqua Sculpting Powder in Lumos along the cheekbone and down the length of the nose. To highlight the browbone I used Illamasqua Eyeshadow in Precipice. I also used a small amount of Precipice on the cheekbone, blending it with Lumos to create more of a highlight.
No comments:
Post a Comment